If you have had your paddleboard a while now, it may be starting to look a bit old and tattered.
I tend to find the board itself tends to stay relatively clean and with a bit of elbow grease you can certainly get it looking shiny.
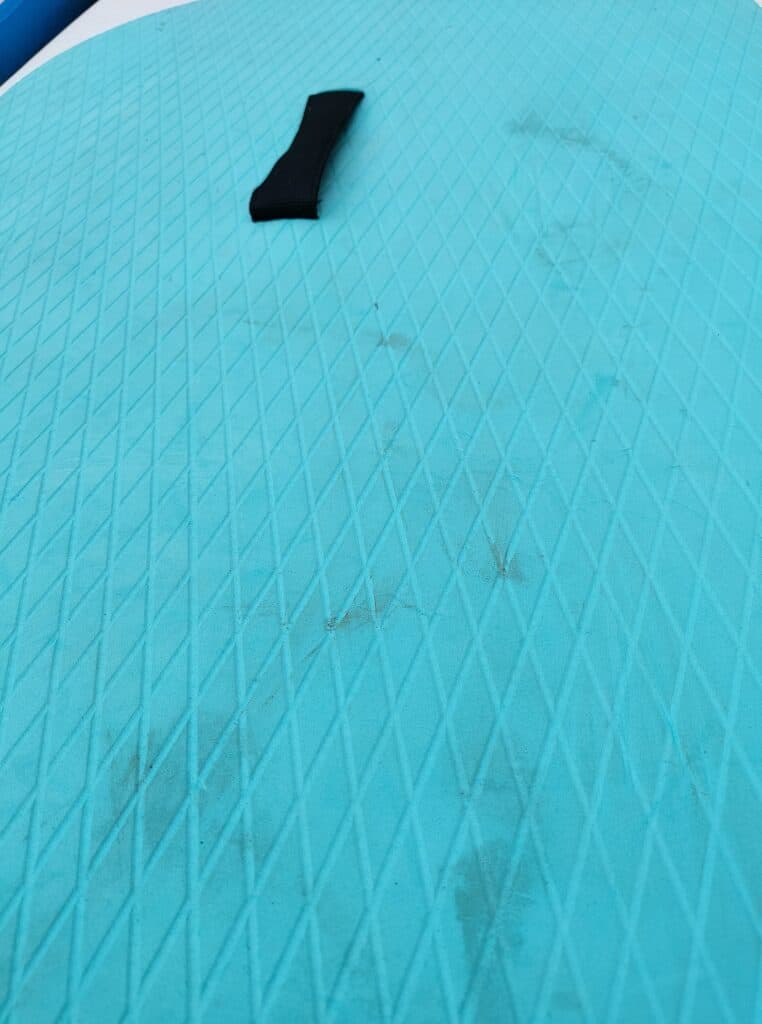
However, one thing that does become easily stained and is particularly difficult to clean is the traction pads sometimes known as deck pads.

These are the foam padded sections that are stuck on the surface of the boards.
These are designed to offer traction so that when you are standing, walking or just generally moving on your paddleboard your feet aren’t slipping out underneath you.
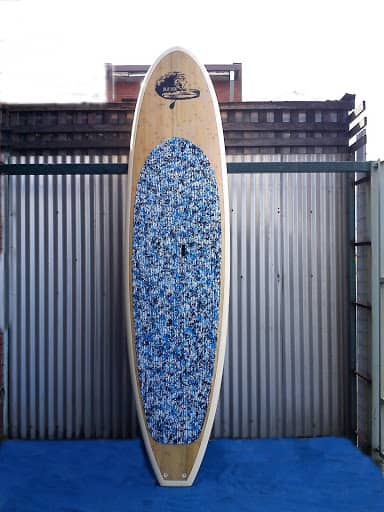
Depending on the sort of board you are using the traction pad could cover half the board or even practically the full board.
By removing this deck pad and renewing it, it can really transform the look of your board.
If you are in a hurry and want to know the basics without the additional minor details I will put a short summary below.
To replace a traction pad you should do the following steps:
- Using a heat source warm up the traction pad to soften the glue/ adhesive underneath
- Begin peeling up the pad from one end
- Continue this process until the full pad is removed
- Thoroughly clean the surface of the board to remove all residue and adhesive
- Take the new traction pad and peel a quarter of the sticky backing down to expose just the bottom edge of the traction pad.
- Line up where the pad is to be installed and press the exposed traction pad onto the board and apply pressure to ensure the adhesive binds the deck pad to the board.
- Once the edge of the pad has been secured peel the sticky backing up another quarter and repeat the process.
- Once the backing is removed, again firmly press down on the pad and ensure it is well secured.
- Get out on the water and show off your nice new looking board.
Now for those of us that don’t like to attempt anything without knowing all the in’s and out’s I will go into great detail about each step below.
To start with let’s look at step 1
Heating the Traction Pad To Allow It To Be Removed
Now on the surface this seems simple enough, use a heat source, warm up the glue, ayy presto off comes your pad.
Unfortunately it isn’t quite that simple.
This step is going to take time and to be fair the more care and time spent on this step the easier the pad will come off and the less preparation work you will need regarding cleaning and removing stubborn adhesive afterwards.
To heat the pad I would suggest using a hairdryer that has adjustable power and temperature settings if possible.
You want to ensure when you are using the hairdryer you are keeping the heat on the pad and not on the board as depending on the board construction the heat could cause damage if not used carefully.
The next thing you want to consider is that the heat is not too hot that it starts burning the pad, these pads are often a foam composite and therefore are quite susceptible to burning under concentrated heat.
The aim of the heat is not to scorch your board or the pad but simply warm up the pad enough that the glue starts to re-activate and becomes more pliable.
It is wise to start the heating around an edge or corner of the pad so that when you have managed to begin lifting you have something to pull on to help get the rest of the pad up.
Peeling The Pad Off The Board
Once the corner or edge of the pad is starting to lift you can begin to peel off the pad in full.
To do this you will want to keep a steady flow of heat onto the pad moving in the same direction that you intend to peel.

It is important that you peel the pad up slowly and evenly, if you get carried away and attempt to rip or tug the pad up, you run the risk of tearing the pad and if you are unfortunate enough to tear through the whole pad you will have effectively have to restart by getting the corner up again.
I can’t stress this enough, take your time with this step.
Depending on the construction of your board you may even opt to get a wax comb and use the scraper end, to help remove the pad although be careful scraping across the board as you don’t want to leave any scratches in the fiberglass.
If your board is soft top or inflatable then definitely don’t attack your board with a scraper
Clean The Board To Remove All Remaining Adhesive
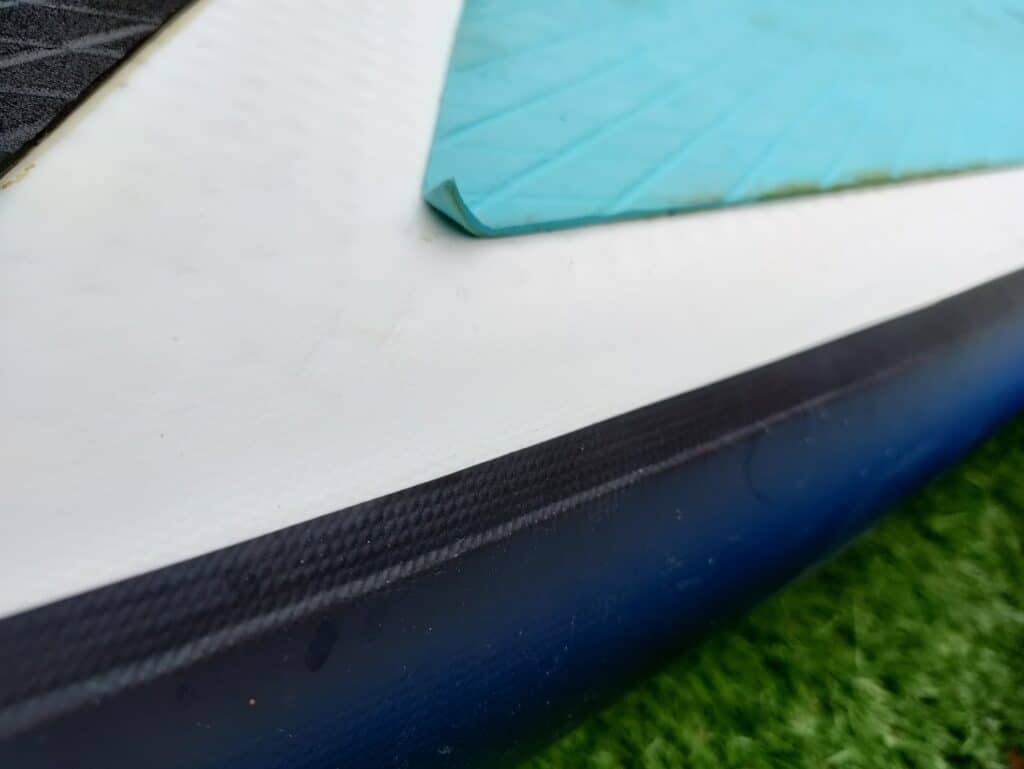
So once you have your pad completely removed you will notice that left behind is a field of adhesive and sticky residue.
Before we can install the new pad we need to ensure that all previous adhesive and any debris/ dust that has inevitably stuck to it is removed in full.
I recommend you get yourself a microfibre cloth and some cleaning products to breakdown and remove the adhesive.
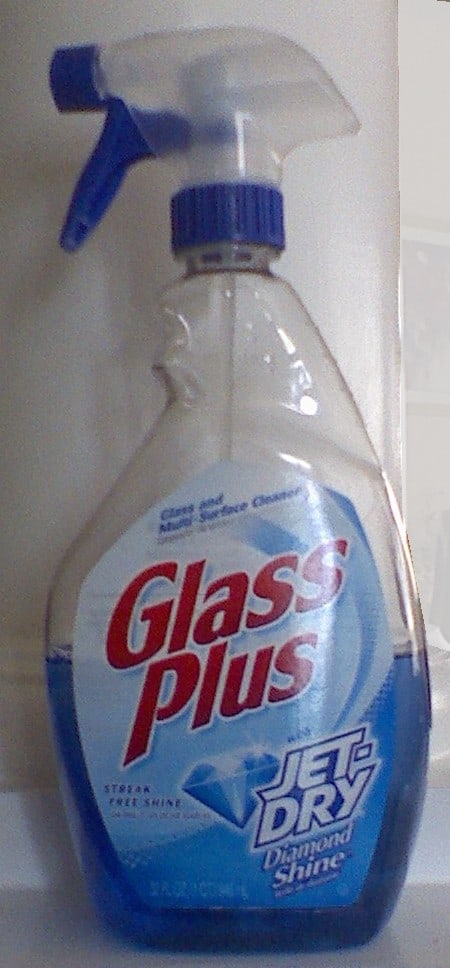
Cleaning chemicals such as window cleaners often seem to do the best job.

Alternatively you can copy the automotive trade and get some 70% isopropyl alcohol on the adhesive, the alcohol will cause the adhesive to break up allowing you to simply wipe it away after it has soaked in.
I wouldn’t recommend getting anything higher than 70% as the additional strength alcohol could have some adverse effects on the fiberglass, foam or rubber surface.
Whichever method you decide to go for, we need to make sure that board is gleaming and there are no traces of any residue.
The reason it is so important to ensure the residue is all removed as it is highly likely that dust and other particles have got into the adhesive, this will cause the adhesive to break down over time and the last thing we want is for our new deck pad to slowly start peeling up, or worse yet, suddenly fall off in the water.
Installing the Traction Pad To The Paddleboard
So I mentioned above about removing only a quarter of the backing and leaving the other three quarters of the pad covered up by the sticking backing.
Once the traction pad has been placed down we really don’t want to have to peel it back up for repositioning.
By installing the pad a quarter at a time it forces us to not only go a lot more slowly but also means we apply pressure to the pad to ensure it is well secured as we go.
It also prevents us from accidentally sticking the pad in the wrong place if we accidentally lean on the pad whilst sticking the opposite edge in place.
So once we have peeled the backing down approximately a quarter of the way we can carefully line up the pad in the desired fixing location and press firmly down to allow the adhesive to bond with the board.
Applying pressure the entire way along the exposed edge ensuring it is firmly secured before peeling more of the sticky backing off and repeating the process in stages.
Once you near the final section of the pad, carefully peel off the rest of the backing and firmly press down on the pad going over all previously installed areas.
We want to be sure there are no air bubbles or creases in the pad as this can cause it to peel back up over time so by re-applying pressure again we ensure each section of the pad is adhered to the board.
Now it is worth noting that some traction pads are made up of multiple pads put together, if this is the case for you simply repeat the process as listed above to all required sections.
Show Off Your Board
Now I am almost certain you don’t need me to tell you how to show off your board now it looks almost brand new.
Having now completed the install of your new pad I expect even you are surprised with just how much of a difference applying a new pad has had on the look of your board.
Well all I have to say now, is stop reading this and get out on the water to show off your achievement.

