There are many benefits to owning an inflatable Stand up Paddleboard.
The convenience of being able to deflate, roll up and take your paddleboard anywhere you want is fantastic and allows you to explore areas you never would have thought possible.
Unfortunately embarking on new adventures your surroundings are unfortunately an unknown entity and this does mean that your inflatable SUP is susceptible to punctures, tears and splits.
Inflatable paddle boards are made up of an extremely resilient compound but unfortunately some punctures can’t be avoided.
You can damage or puncture your SUP just about anywhere there are sharp objects including rocks, groins, driftwood or even sea life such as mussels, limpets and oysters.
The point is a puncture or damage to your Inflatable Paddleboard can ruin your adventure and your day.
Fortunately paddleboard manufacturers know that even though they aim to use the best materials that this is unfortunately a risk that comes with the sport.
As such the vast majority of these manufactures offer a repair kit as standard when you purchase an inflatable paddleboard.
The repair kits are often orange and come in a little cylindrical bottle with a twist top handle.
Like the picture below.

The bottles look like they would contain safety flares, may mind starting running with images of waving a flare in the middle of the channel after getting lost and drifting away after a long paddle.
So know we know what they look like, what exactly do we get in these repair kits.
Well I have included a photo below showing the items you get in the repair kit.
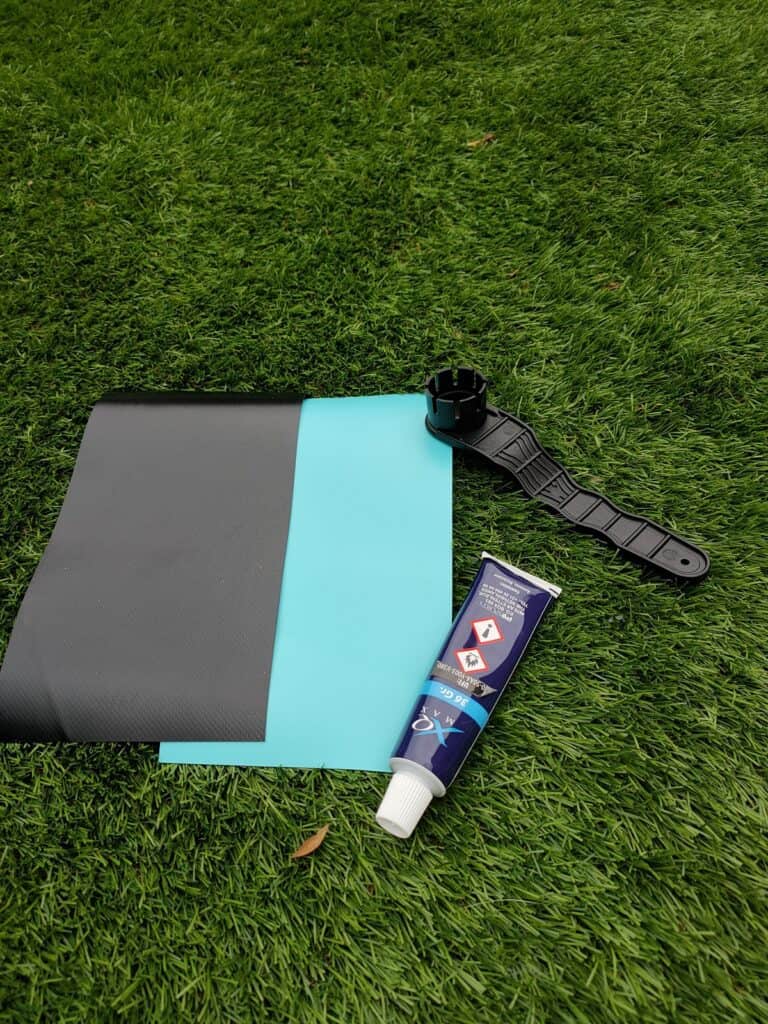
In case the photo isn’t clear of you aren’t sure on what exactly some of the items I have included a list below.
The repair kit contains the following items:
- Rubber Patches
- Brushes for Glue Use
- Glue
- Valve Lever
Now it is worth noting that if you are hoping to carry out a repair to your paddleboard you likely won’t need the valve lever.
There are, however, a few other things worth getting ready to save you time when carrying out a repair.
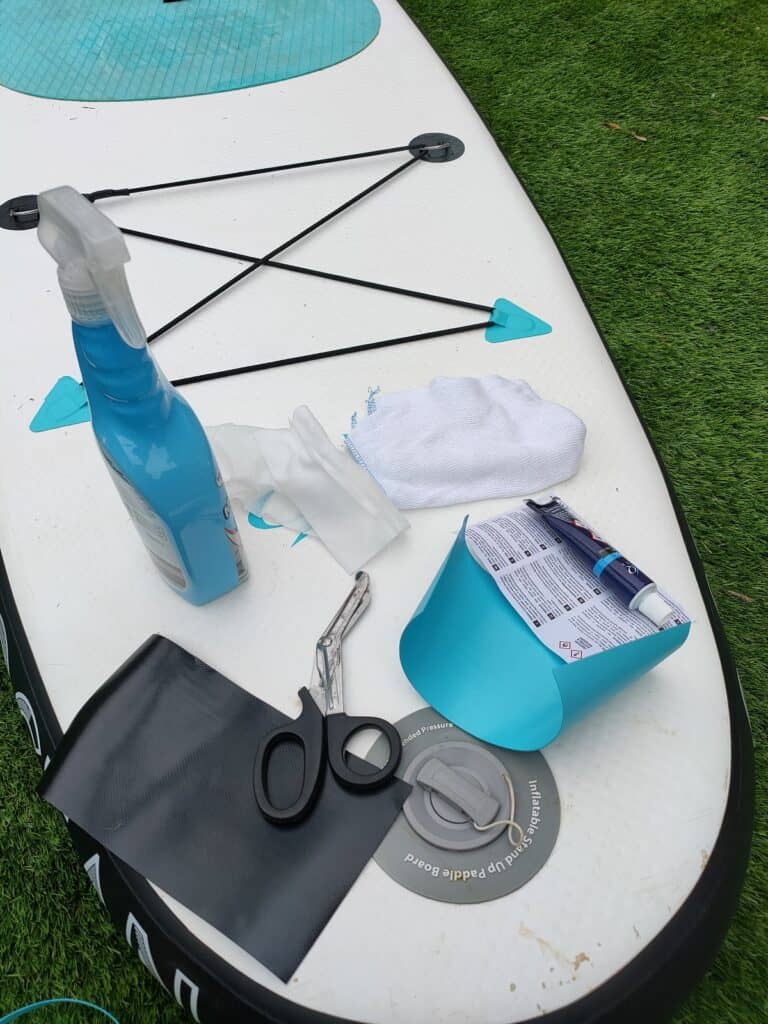
The additional things you will want to get ready is
- A pair of scissors for cutting down the repair patches.
- A microfibre cloth (or similar) for cleaning down the surface before applying the patch repair
- Some soapy water that you can use to either clean down the surface of the board or you can use the soapy water to pinpoint the leak if you aren’t sure exactly where it is.
How To Repair an Inflatable Paddle Board That Is Punctured
So now we have the tools of the trade we can start getting on with the repair.
Step 1 – Inflate the board slightly
The first step I would suggest is inflating the board slightly for a couple of reasons, one being it gives you a second chance to make sure you have pinpointed the area that requires repairing.
The second reason is, it is better to apply the patch when the board is at full stretch and the material can only soften and wrinkle from this point.
It avoids the risk of the patch stretching and peeling off when the board is pumped up.
Step 2 – Clean the area and pinpoint exact location of leak
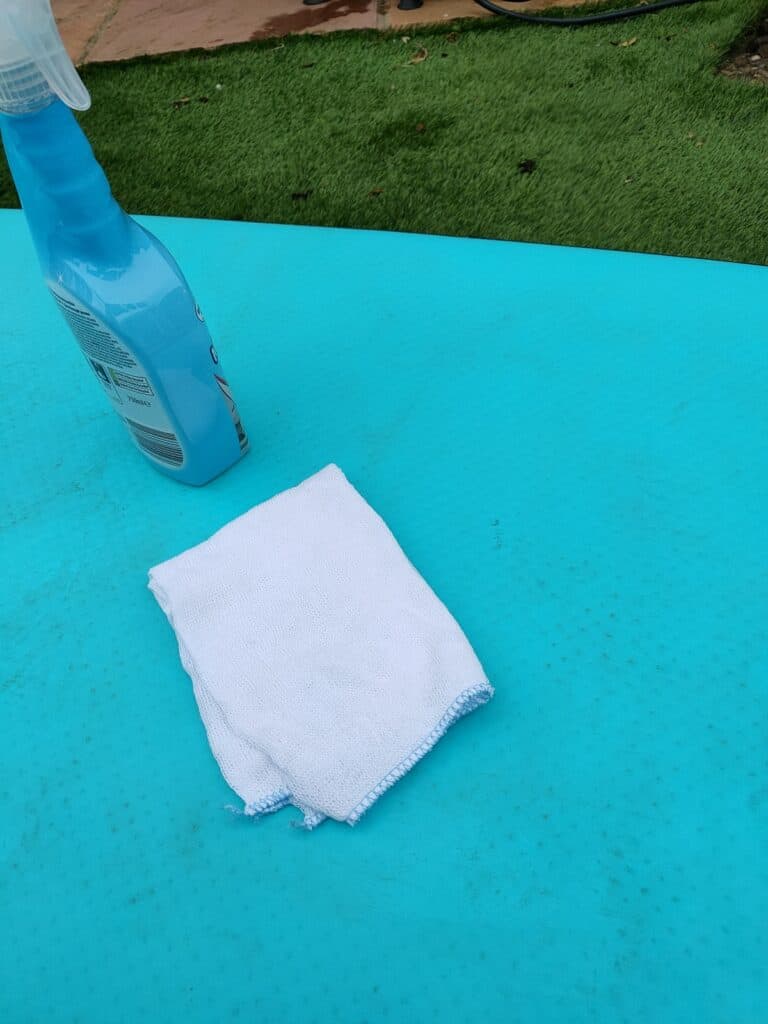
Locate the leak or damage using the soapy water if required and give the area a thorough clean using the microfibre cloth, the cleaner and less contaminated the area the better the glue and patch will adhere to the surface.
For those of you who are confused as to how you use the soapy water to locate the leak, let me explain.
If you know the general area in which the leak is located you can use some soapy water and spread this over the area, when the soapy water passes over the leaking area you will see a continuous flow of air bubbles in the mixture which indicates that air is escaping from the board.
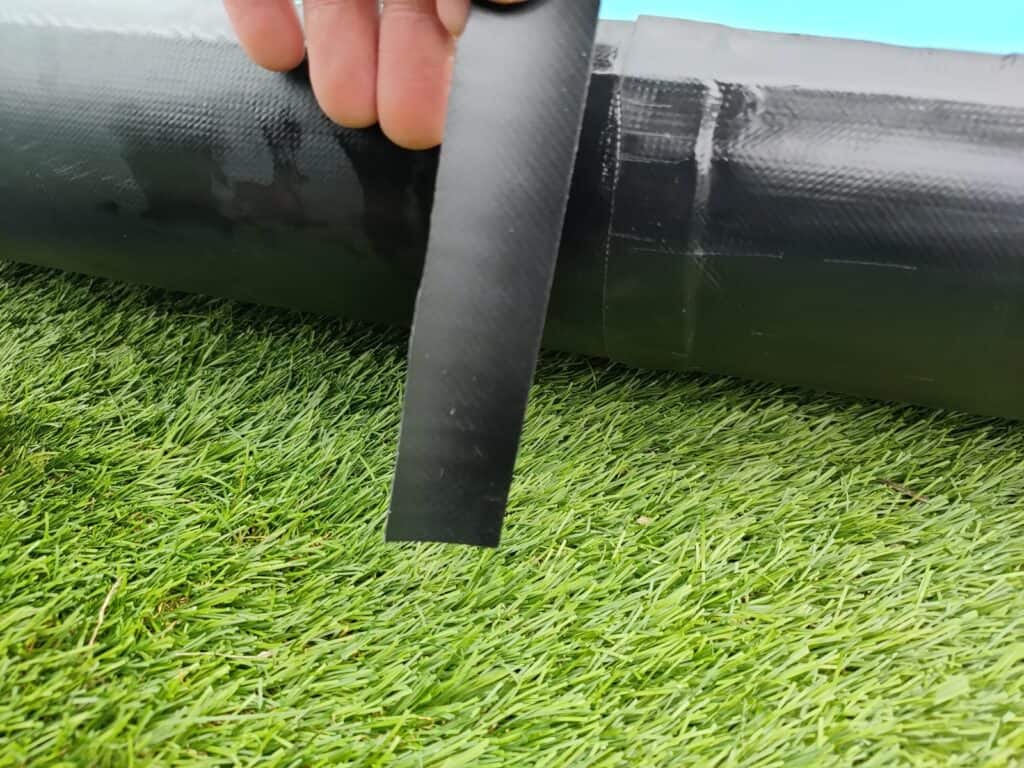
Step 3 – Cut the patch to suit the size, shape and location of the leak
Now the area is well cleaned we can start with the actual repair.
Work out what size patch you need and collect the correct colour strip from the repair kit.
If required use the scissors to cut the patch down to suit the size and shape that you need to ensure the damaged area is fully covered.
Once you have cut your patch to suit, give the area another clean and also give the reverse side of the patch a clean.
I can’t stress enough how important it is to ensure there is no built up debris or dust under the patch repair.
Step 4 – Apply glue to the board and patch
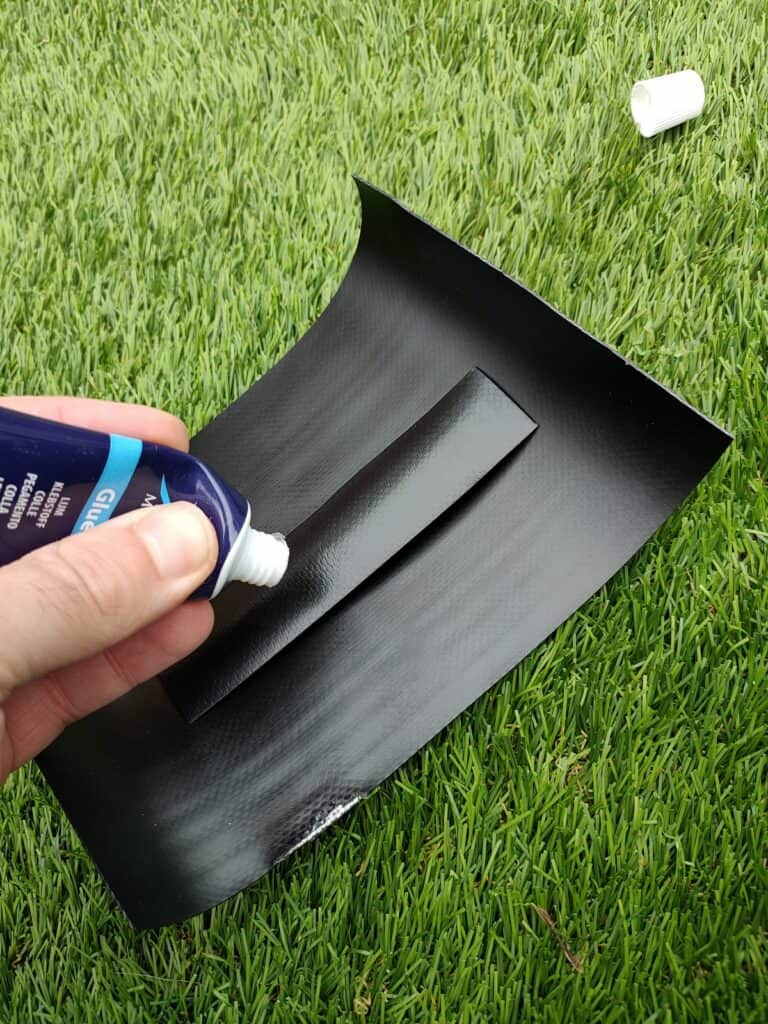
Now the area is cleaned and the patch is ready, we can start the glueing portion of the repair.
Collect the glue and remove the cap, squeeze the glue on to the tip of the brush and coat the area on the board where the leak is present. The glue should be applied in circular motions starting from where the damage is to the outer edges of where the patch will end.
Once the board is fully coated apply the glue to the reverse side of the patch in the same motion as previously mentioned.
Step 5 – Press the patch over the leak firmly
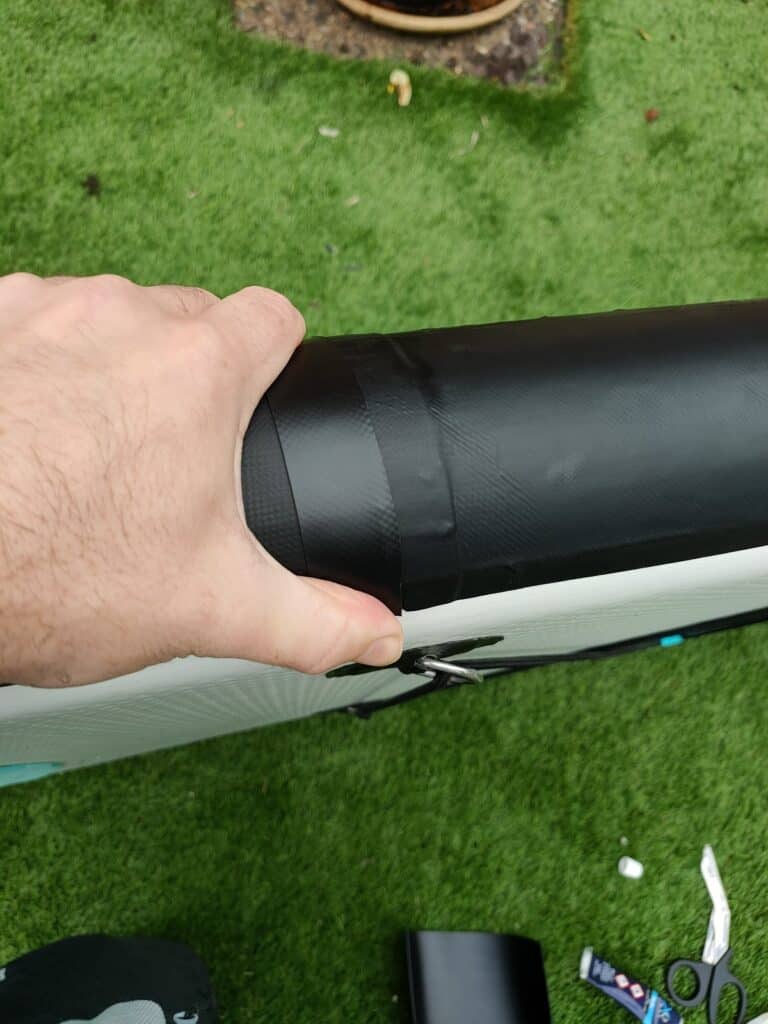
Now the glue is applied to both the board and to the patch, offer the patch upto the board ensuring the centre of the patch lines up with the centre of the damage.
Firmly press the patch onto the board and carefully remove areas of trapped air and any creasing from applying the patch.
Step 6 – Let the glue cure for a minimum of 24 hours
Ensure the patch is firmly secured and you are done.
Well nearly done anyway.
The last part of the repair process is often the hardest one, you will likely find on the provided glue that it mentions a curing time.
Obviously I always advise you follow the instructions on the glue but sometimes the glue curing time can be a little bit ambitious.
I would suggest the board is left for a minimum of 24 hours before you get back out on the water.
The last thing you want to do is be too keen to get back out there and cause further damage or re-open the old wound.
Step 7 – Get back out on the water and enjoy your paddle

Provided you were able to subside your urges to get back on the water and you waited the 24 hours suggested.
The 7th and final step is to get out there and have some more paddleboarding adventures