Inflatable paddleboards have created a unique opportunity to get people of all walks of life into paddleboarding without needing to live next to the water, have a large vehicle or need roof racks.
Inflatable paddleboards can be rolled up and stored in an easy to carry, convenient bag that is often large enough to not only fit the board but also the paddle, pump, hose, leash and fin.
Anyone who has tried packing away an inflatable item with a bag previously, probably gets war flashbacks to wrestling with the item to squeeze it back into the bag.
Fortunately the same is not true for inflatable paddle boards.
Using this step by step guide you will be able to deflate and pack away your paddleboard, including all the accessories, every time with ease.
Step 1 – Deflate the Board
Now, I have actually written a full article on exactly how to deflate the board so if you need a full run down I recommend you head over there and then return here for the remaining steps.
But in short, you will want to lay the board out on its back and then untwist the valve cap, in the centre of the valve there will be a little pressure release button (Sometimes it will resemble a screw) press or twist the pressure release valve into it locks in an open position.
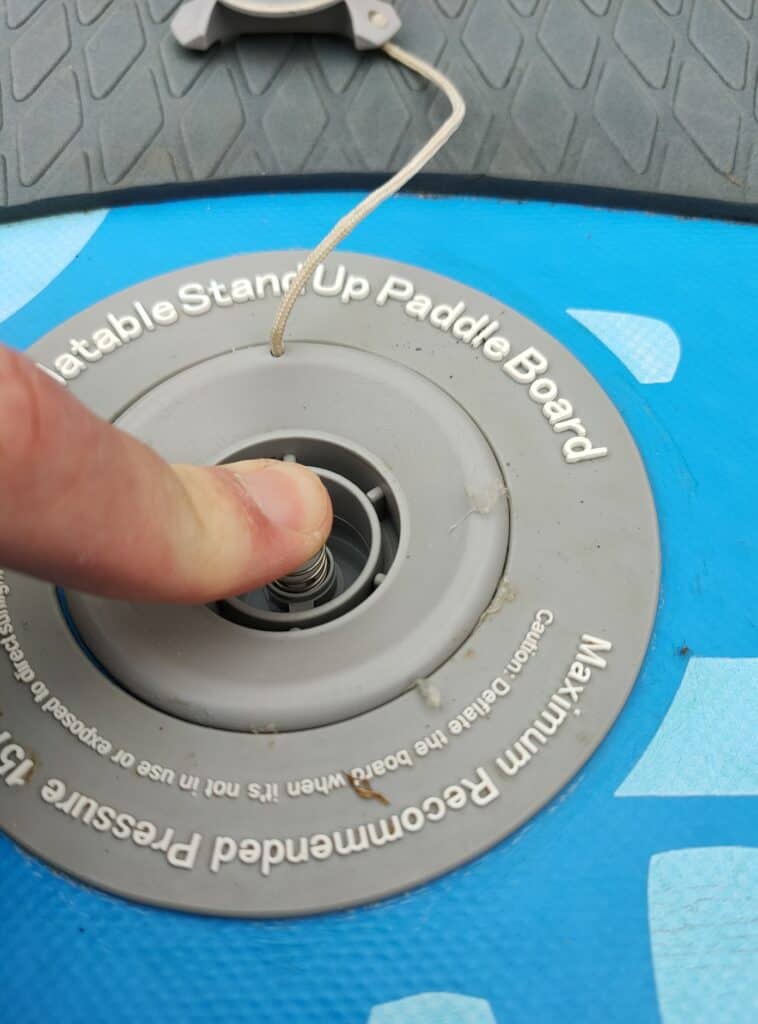
As you press down on the valve down air will begin to escape, the more you press down on the valve the faster the air will escape, once the pressure release valve is locked into place the air will continue to escape without you having to hold the valve.
Let the air escape under its own accord for approximately 2 minutes or until the board is look very deflated
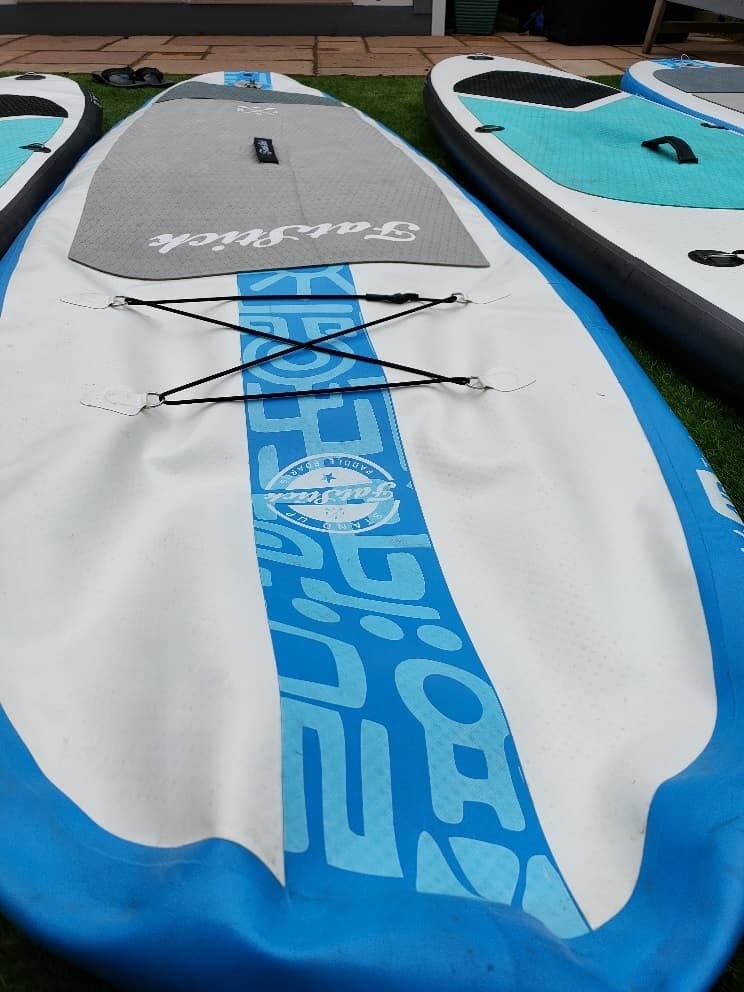
Step 2 – Roll the Board
It will get to a point where the pressure of the remaining air inside the board isn’t able to force itself out of the board.
When you get to this stage kneel down at the opposite end of the board to where the valve is situated and apply pressure to the end either by leaning or kneeling on it.
As the air gets forced down towards the valve we can start rolling the board up.
Knowing exactly how wide you should roll each section is very much guesswork rather than calculated precision.
You can often use marks or accessories on the board to determine where the roll should start.
For example I hire out two different board brands currently, one is a premium brand and the other is a budget model.
On the budget model the valve is on the nose of the board, this means I have limited play when it comes to rolling the board as I am governed by the fin box’s. The budget model I hire out has a 3 fin set up this being a large single fin with two fixed side fins.
As I roll the board up on this model I often do a full roll which covers the single fin and then the next roll covers the side fins.
Using this roll width I can then roll the rest of the board up.
On the premium board that I hire out the valve is located on the nose of the board, as I don’t have the fins to guide the roll I instead use the budgie straps that are found on most boards and usually located in the top half of the board.
With the premium boards I know that I can get one full roll of the board before I meet the straps, when I meet the bungie straps the next roll is the same width as this bungie portion.
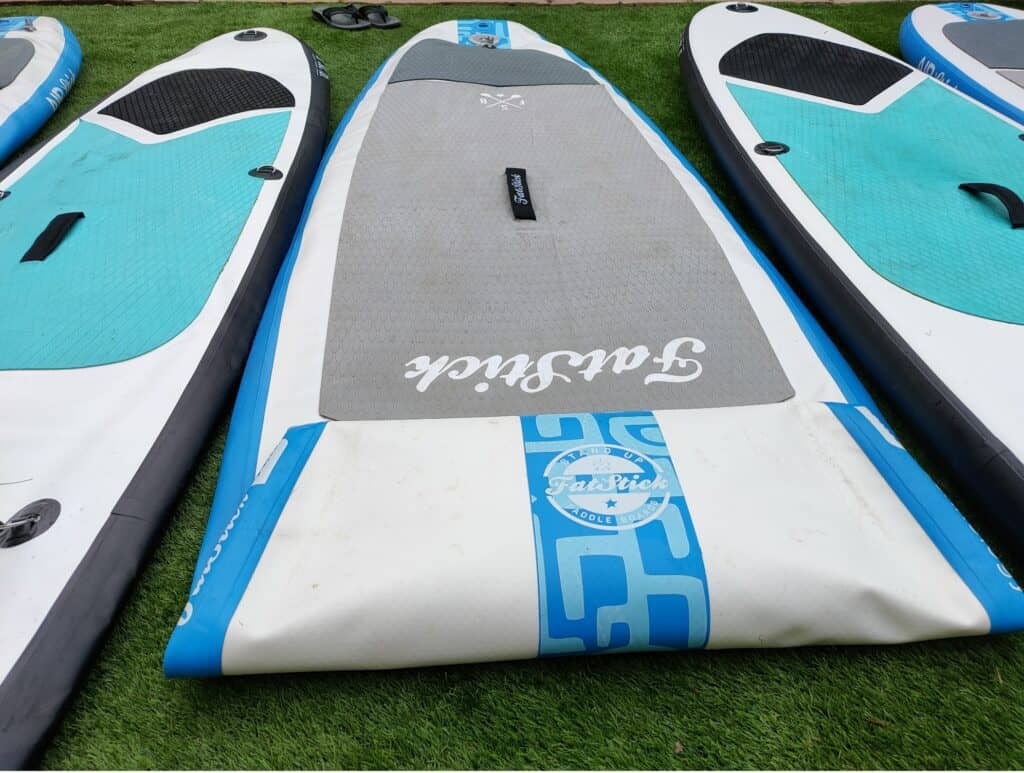
From this position I can continue to roll the board.
Now each board is different and you will find what works for you but generally speaking the carry bags are between 35cm – 43cm in width so we need to ensure our board is rolled up to meet this width window.
Step 3 – Release last of the air and begin packing away
As you work on rolling the board up towards the valve you will get to the point where you can’t roll any further due to the valve location.
When you reach this point I like to apply weight on the rolled section and then press down on the board around the valve to remove the last of the air.
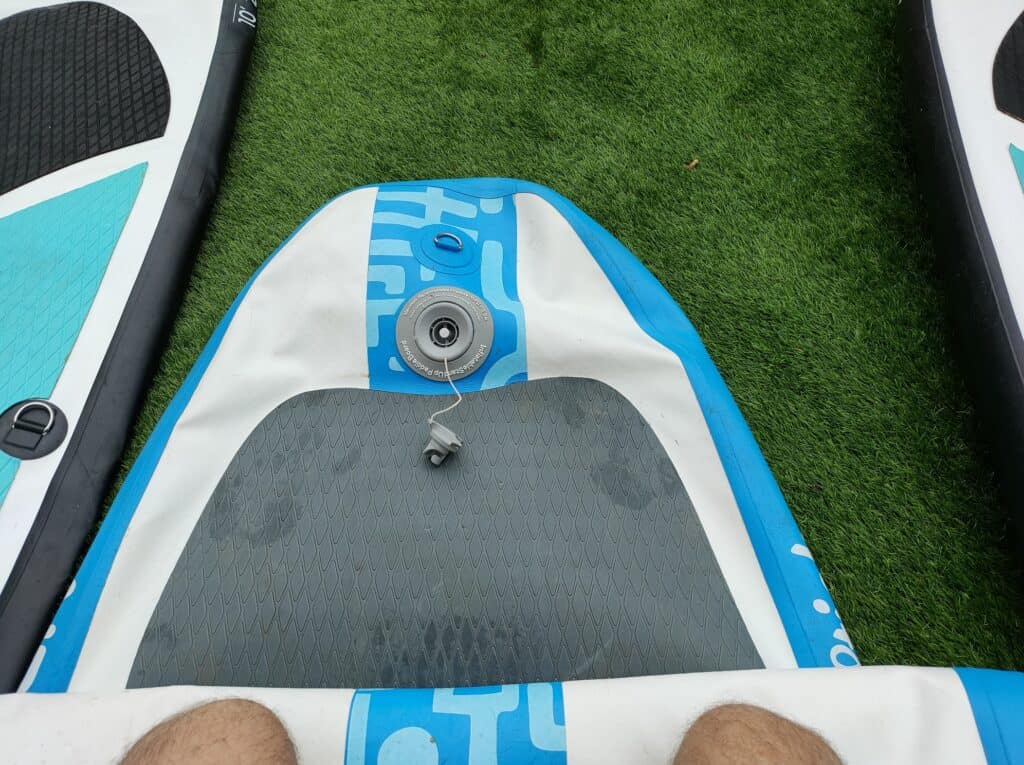
Once the air has been pushed out as best you can, I personally like to unlock the pressure release valve so it is ready for next use.
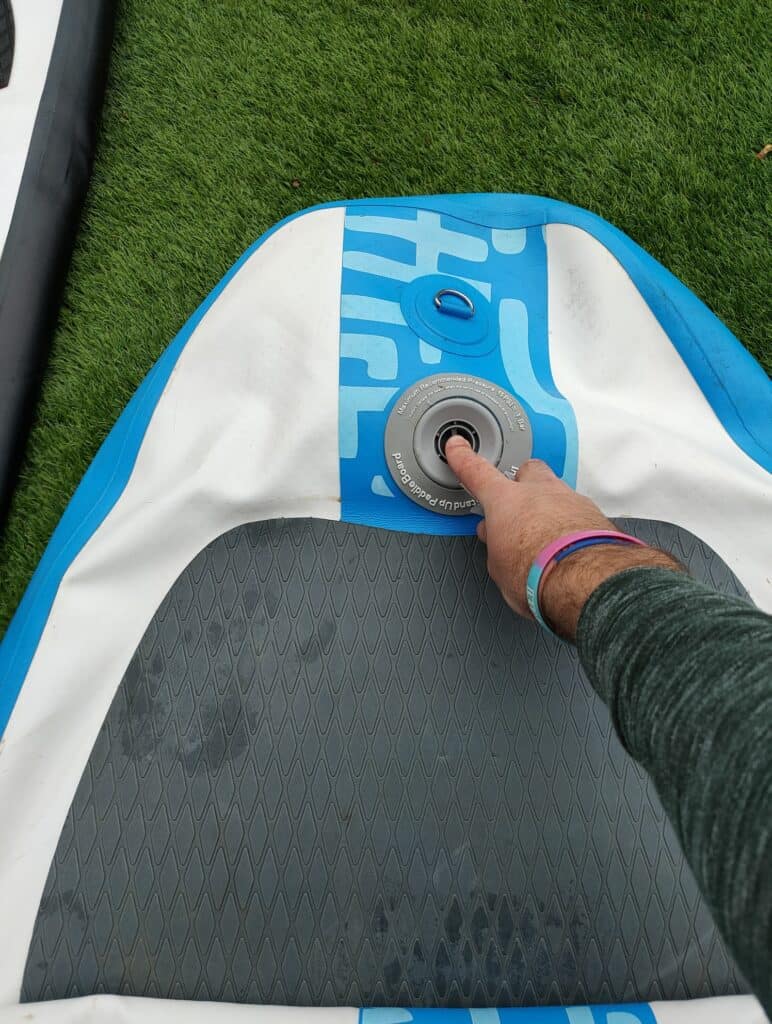
There is nothing worse than pumping up the board to 10+ PSI to release the hose and watch all your hard work blow back in your face because you left the pressure release valve open.
Once you have unlocked the valve you can place the valve cap back on and complete the final roll of the board.
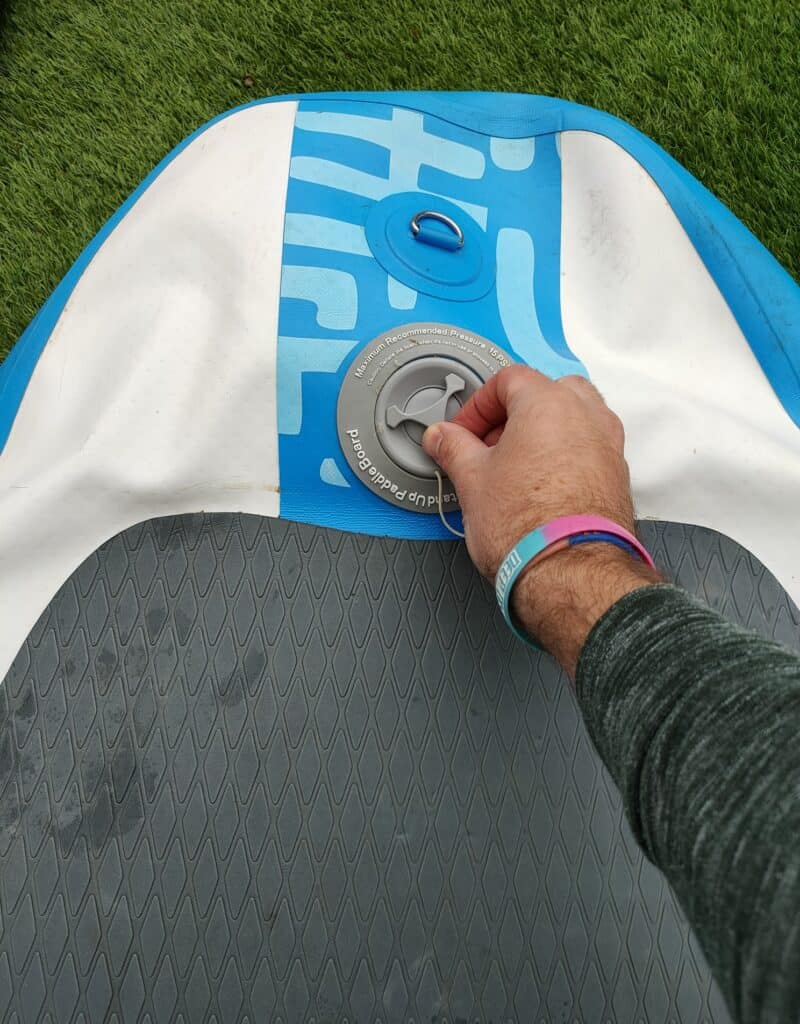
Once the board is rolled up you are ready to start packing it away.
Step 4 – Pack The Board Away
I personally recommend that the first thing you place back in the carry bag is the board itself.
Unzip the bag all the way and open it out as wide as you can, lift the board and slide one end into the bottom of the bag, offer the rest of the board into the bag and lay it down on the floor.
From here simply grab the edge of the bag and pull it outwards and over the top of the board to ensure the board is fully secured in the bag.
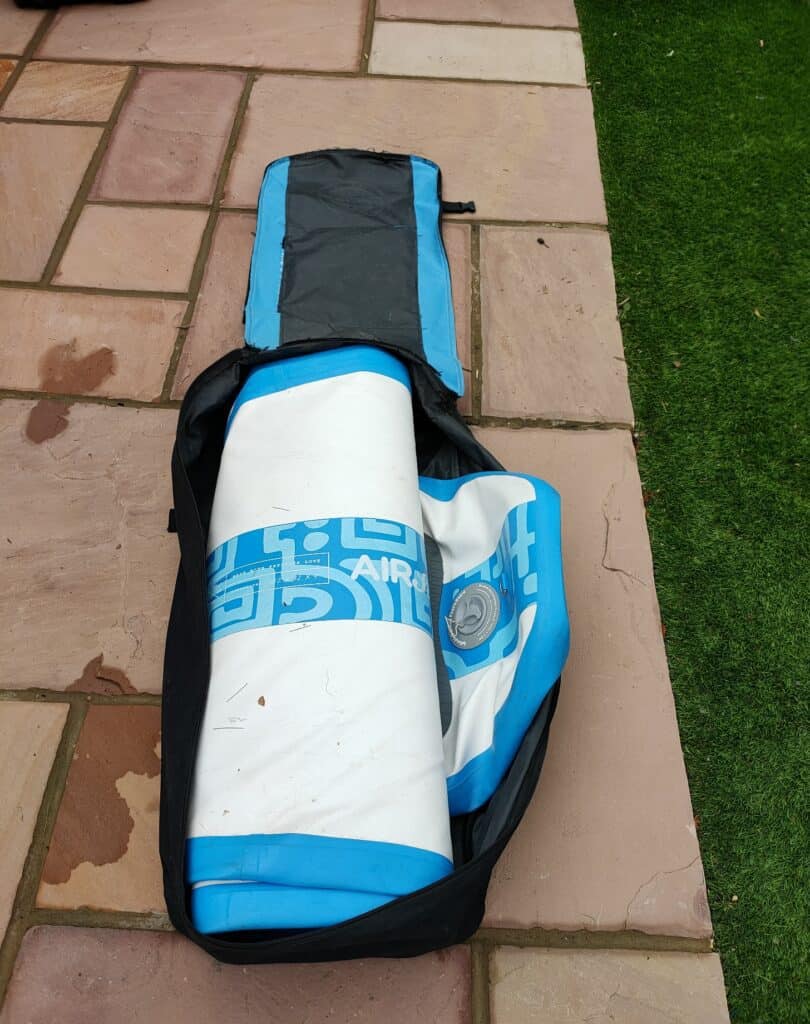
Step 5 – Pack Away The Accessories
Now the board is in the bag and ready to be zipped up we want to get the accessories packed away too.
Start by detaching the paddle so it is in individual sections and place these on top of the rolled up board, next I like to take the Leash, Fin and repair kit and tuck this into any little corner where there is excess space.
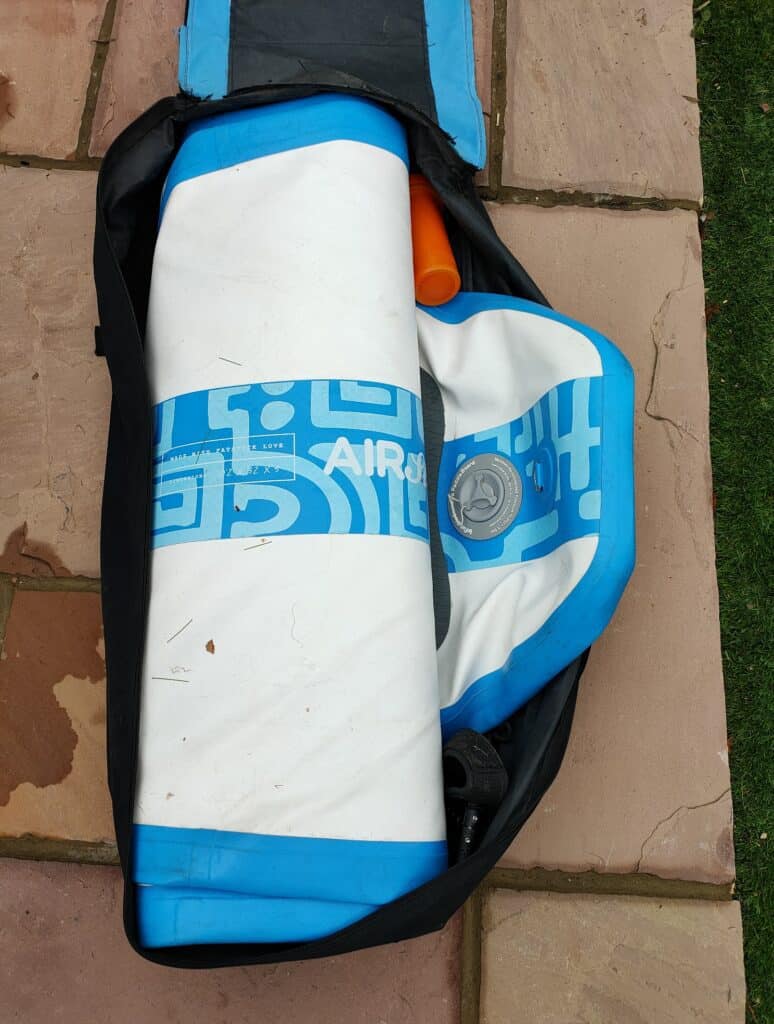
Depending on how much available room you have in the bag you may also want to lay the pump down on top of the paddle and board (I often find it is easier to leave the pump out and attach to the outside of the bag using the provided straps).
The last item that needs to be placed in the bag in the hose of the pump.
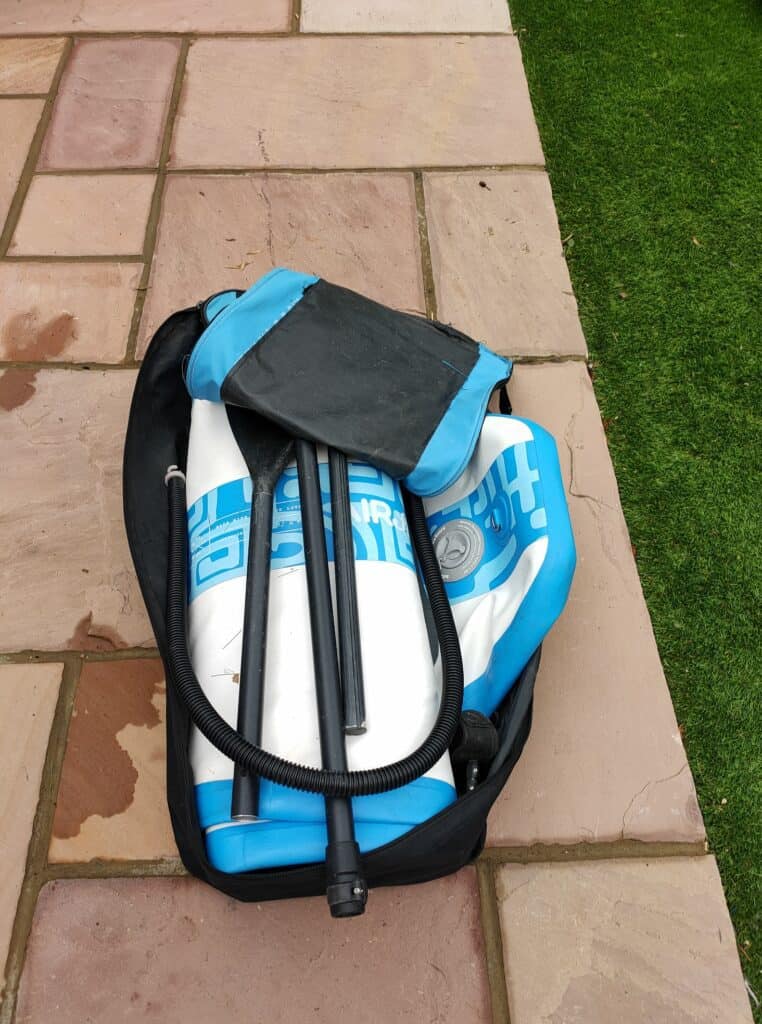
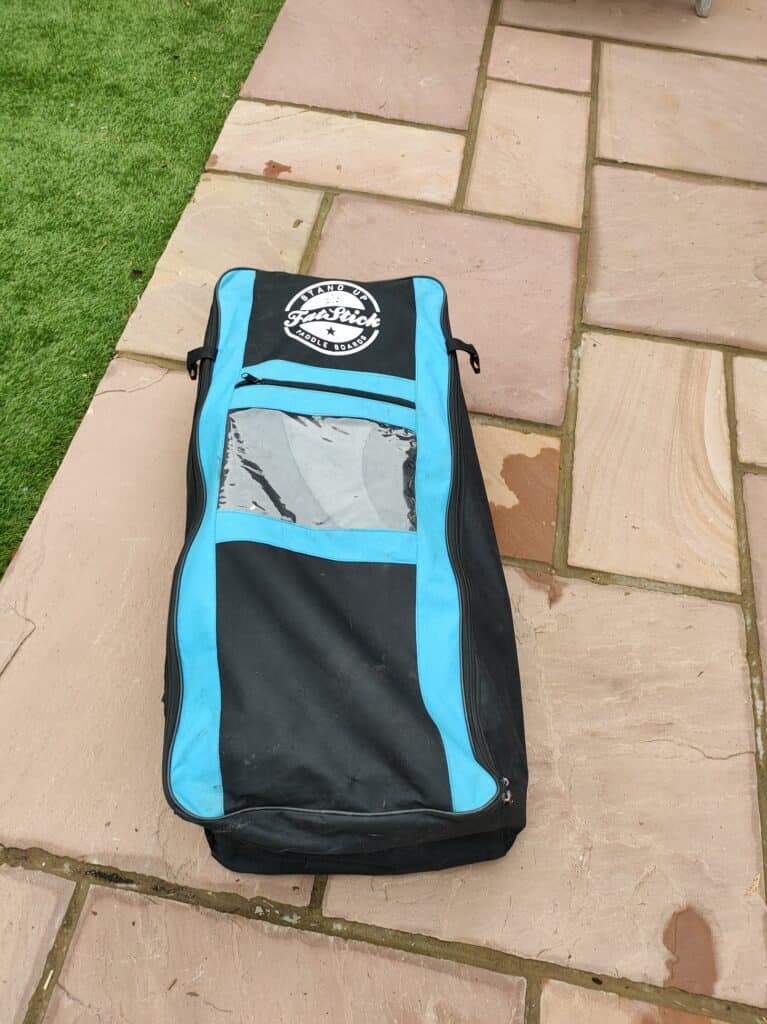
I often zip the bag up to ensure all the previously placed items fit in the bag without putting too much strain on the zip, when I know that all items are appropriately placed I tuck the pump hose into the small opening left by not fully zipping up the bag and then finish closing the bag.
Step 6 – Secure Pump To The Outside of The Bag
So if you didn’t have any joy squeezing the pump into the bag you can actually secure it to the outside of the bag using the straps that are often provided by the SUP manufactures.
There is often a clipping mechanism on the side of the bag, there is a strap with a female end of a clip on the rear of the bag attached to the side and then there is a strap with a male end on the front face of the bag.
These clips can be adjusted as needed and then you can use them to secure the pump to the side of the bag.
Once the pump is clipped in place, there you have it, your board is neatly packed away and ready to go when you have your next adventure.
